


With property prices continuing to spiral ever-upwards, it’s just not always possible to move to a bigger new home to accommodate a growing family and even the option of a two-storey extension isn’t always very affordable. Because of this, many children simply have to get used to sharing a room when moving house is not an option, but, fear not – it can be done, and without excessive fighting and arguing. Although not without any conflict at all, obviously…
Get the kids involved in the bedroom design
The trick is to involve the children as far as possible – ask them for their bedroom design ideas and inspiration, what would make them love their room and be happy to share it? Obviously, this will depend very much upon age and stage of the children but even the very youngest can have input on colour and décor. Bear in mind you may need to adjust some of their suggestions, though, especially teenagers who might want radical decor such as black walls and gold designer tiles on the floor.
Celebrate their differences
One of the easiest, quickest and most cost-effective ways of visually dividing the room is to decorate according to each child’s taste to give them a real sense of ownership of their half. This can be done with toning or complementary colours, or feature wallpapered walls in papers from the same ranges – an easy weekend’s DIY for anyone. If you’re a little more ambitious or nifty with a paintbrush you could attempt a personalised mural in matching colours to their décor choices as part of your bedroom design – keep it simple with their name, or a favourite sport reference. If you’re not that confident, a mural artist could design something for you.
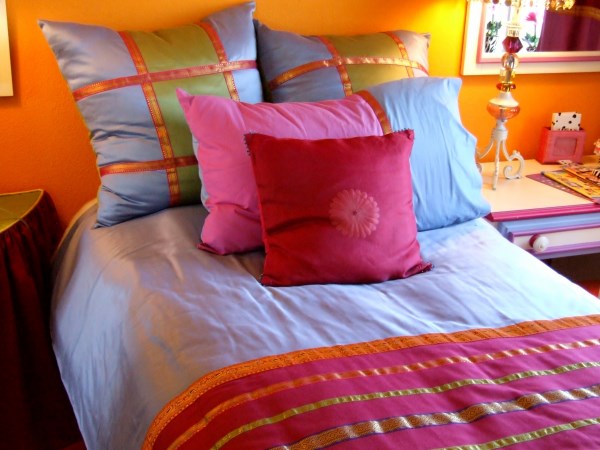
Think about flooring too – if it’s a wooden floor, it could be painted half and half, or choose different coloured lino, laminates or carpets. Just don’t go over the top with different elements – keep certain things simple and the same to make the whole scheme work. For instance, use the same good quality white bed linen on both beds and plain, neutral curtains or blinds.
Divide and conquer
For a more physical division, buy a screen – or perhaps make your own room divider with three cupboard doors hinged together, or a simple, hinged wooden frame and kid-friendly fabric – a different print each side or you could even let them loose with plain fabric and specialist fabric paint or pens. Older children might like the industrial vibe of a screen crafted from pallets or salvaged (unglazed) window frames. Maybe they’d like a noticeboard, or blackboard style one to display their own photographs and artworks? For a sturdier barrier, try customising furniture to do the job. Shallow bookcases set back to back could work well (providing they’re correctly secured to avoid toppling accidents) as could modern, modular open shelving, allowing access to books and games from either side.
High sleeper beds can really make a difference!
Possibly the best way to clearly designate each child’s side of the room is to construct a custom high sleeper bed which can accommodate a desk and wardrobe, ensuring that each child definitely has his or her own space and storage whilst also maximising usable floor space for playing or studying.
Let your imagination – and skills, whatever their level, run wild and your children will thank you for their funky and creative room of which their friends are so envious. We can’t promise it will prevent all bickering, but it should definitely make a difference!