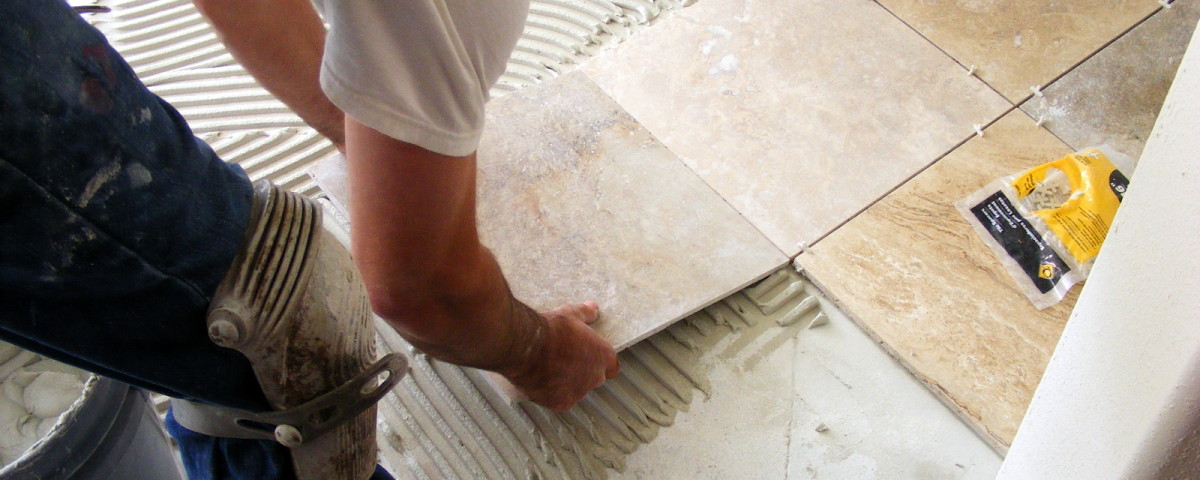
Tiling your own walls or floor is certainly an option especially if you are good at DIY. Of course some aspects are harder than others and you should try to make it as easy as possible. For example if you have tight spaces having large porcelain tiles may not be the best option as you will find yourself constantly having to cut them which can become a hassle and a of waste time. However, even before getting the tiles you can make your life easier by preparing.
Having the surface prepared is essential, as tiles  installed on a poorly prepared surface can quickly crack and lift off and where there is water it can seep inside. So you want to ensure that you have the surface as fully prepared, as it would be horrible to see your hard work ruined. Even if you have the best quality products from tools to porcelain tiles you still should ensure that the surface is fully prepared.
Preparing the surface:
1) Scrape of any old tile grout or adhesive.
2) Remove any nails
3) Take off an loose sections of plaster
4) Remove any flaking wall paper or paint
5) Ensure that there are no particles of dust or grit left
6) Fill in any holes with filler
7) When the filler is dry, sand it down so that the surface is straight.
You should check the straightness of the surface with a spirit level or even a long plank of wood. If the wall is still not straight you can fix it with filler. If the gap is less than 5mm then you can just alter it with additional tile adhesive.
If it is all prepared then you can vacuum the area, clean the surface with a damp cloth, apply acrylic primer and start tilling!

Top tiling tips:
- If the surface is newly plastered you should leave it at least a month to dry out before you start tiling – which can be quite annoying but if not it could result in a poor finish and damp behind the tiles
- If you have a bare brick wall you should install tile backer boards as the wall will be too uneven to tile straight on to.


